

You don’t need to spend big bucks to create high-quality maps using drones. In this video, mapping expert Jared from Pilot Institute shows how you can make impressive maps with an affordable, entry-level drone like the DJI Mini 3 Pro.
Planning Your Mapping Mission
The first step is planning your mapping area. Jared recommends using Google Earth to create a KML file, which is a lightweight polygon shape defining the area you want to map. This KML can then be loaded into your flight planning software.
For this demo, Jared uses the Map Pilot Pro app, available for Android devices. After installing the app, make sure to force quit the DJI Fly app so it doesn’t interfere with Map Pilot Pro’s control of the drone.

Setting Up Your Flight Parameters
In Map Pilot Pro, load your KML file to see your mapping boundary. Adjust the flight altitude to balance detail and efficiency – lower altitudes provide more detail but require more flight lines and time.

Set your front and side image overlap to ensure the software can properly stitch the map together. Jared recommends 80% front overlap and 70-75% side overlap. Fly the drone as fast as lighting conditions allow to minimize flight time.
Draw your flight path to match your KML boundary, adding waypoints to create a “lawnmower pattern” that ensures good image overlap. Save your mission plan and upload it to the drone.
Flying Your Mapping Mission with Entry Level Drones
With the mission uploaded, carefully inspect the flight path for any obstructions or hazards. The Mini 3 Pro handles moderate winds well, especially with the added stability of larger batteries.

Be aware that constantly moving water surfaces can cause stitching issues. Fly higher over bodies of water to capture more of the stable shoreline in each image.
Hit takeoff and let the drone autonomously fly the mapping mission, capturing images along the planned flight path. The 1.8 acre demo map took about 5 minutes to fly and captured 81 images.

Processing Your Map
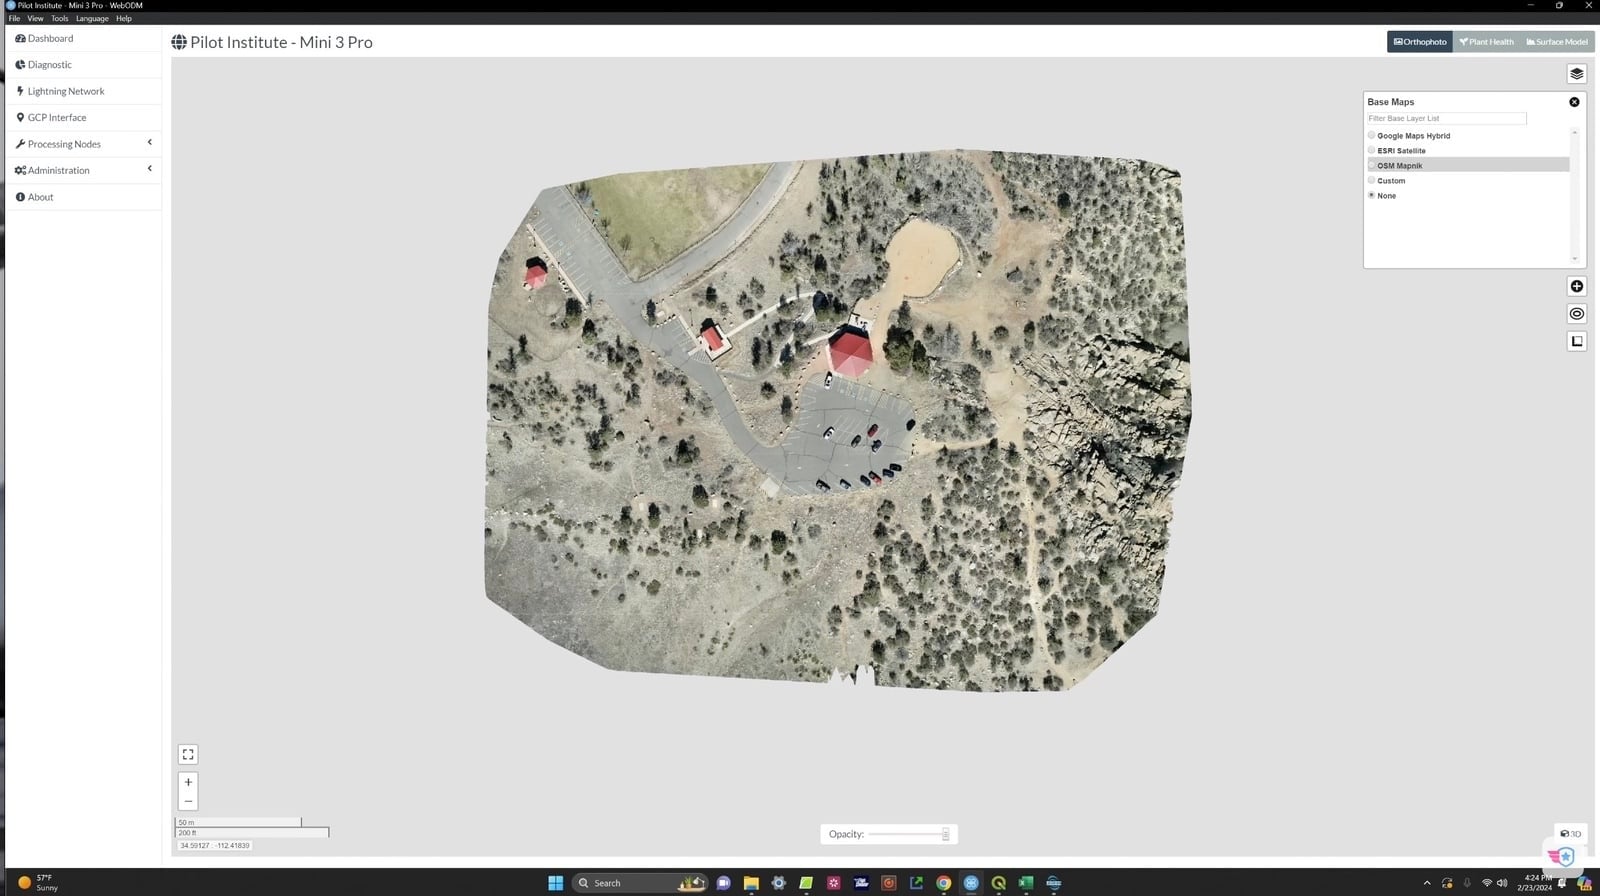
Use the free and open source WebODM software to process your captured images into a map. The user-friendly interface makes it easy to start a new project, import your images, choose processing options, and generate your map.
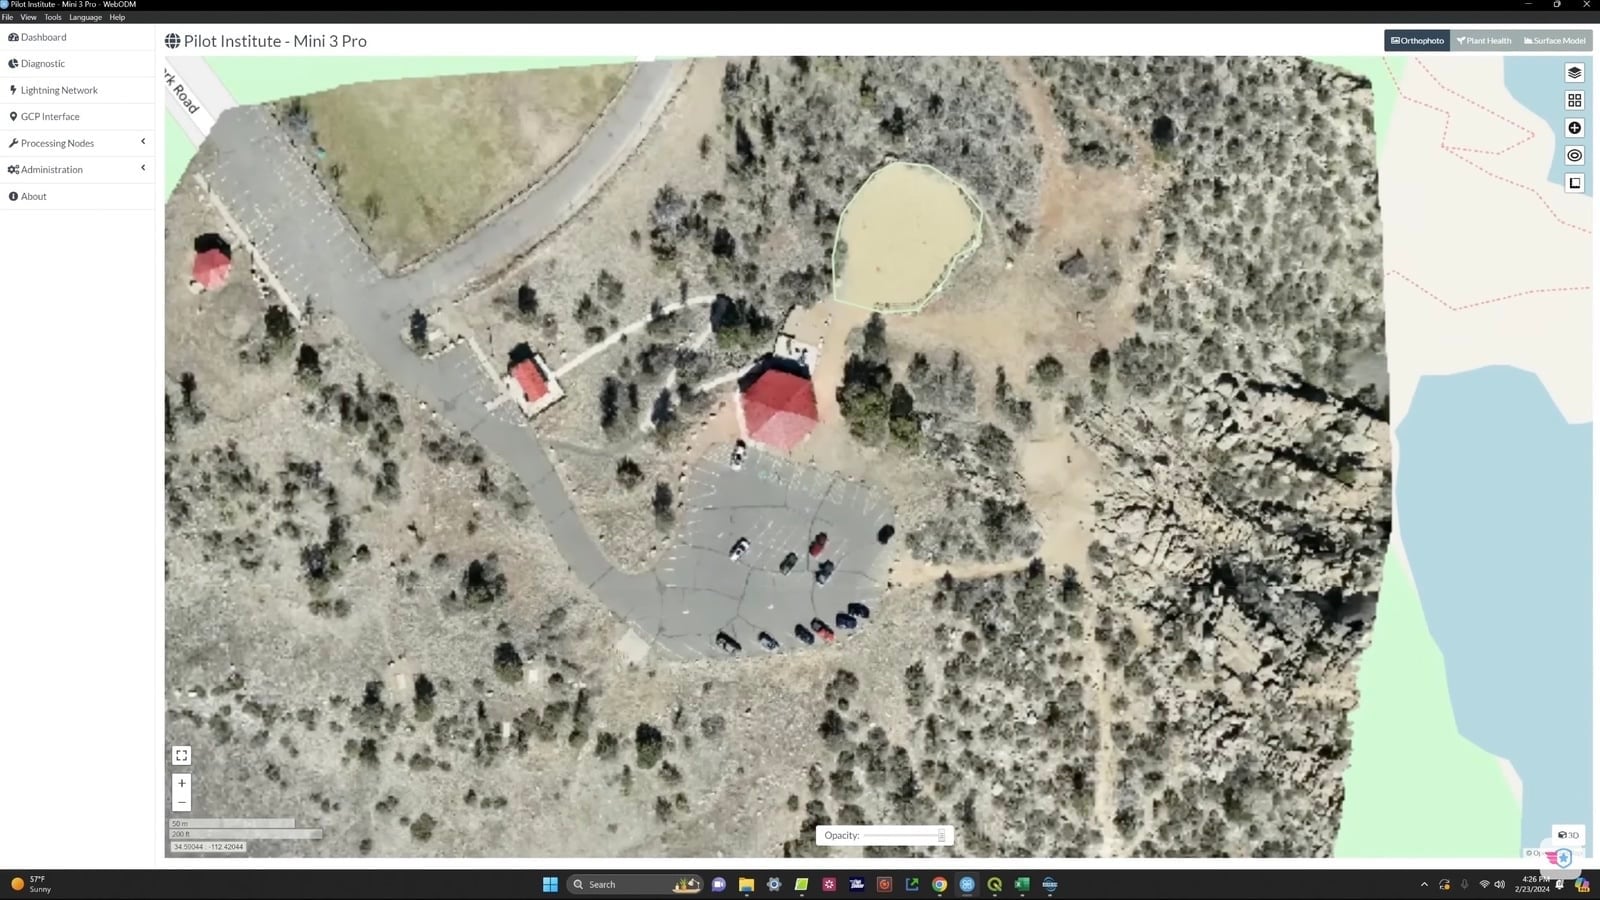
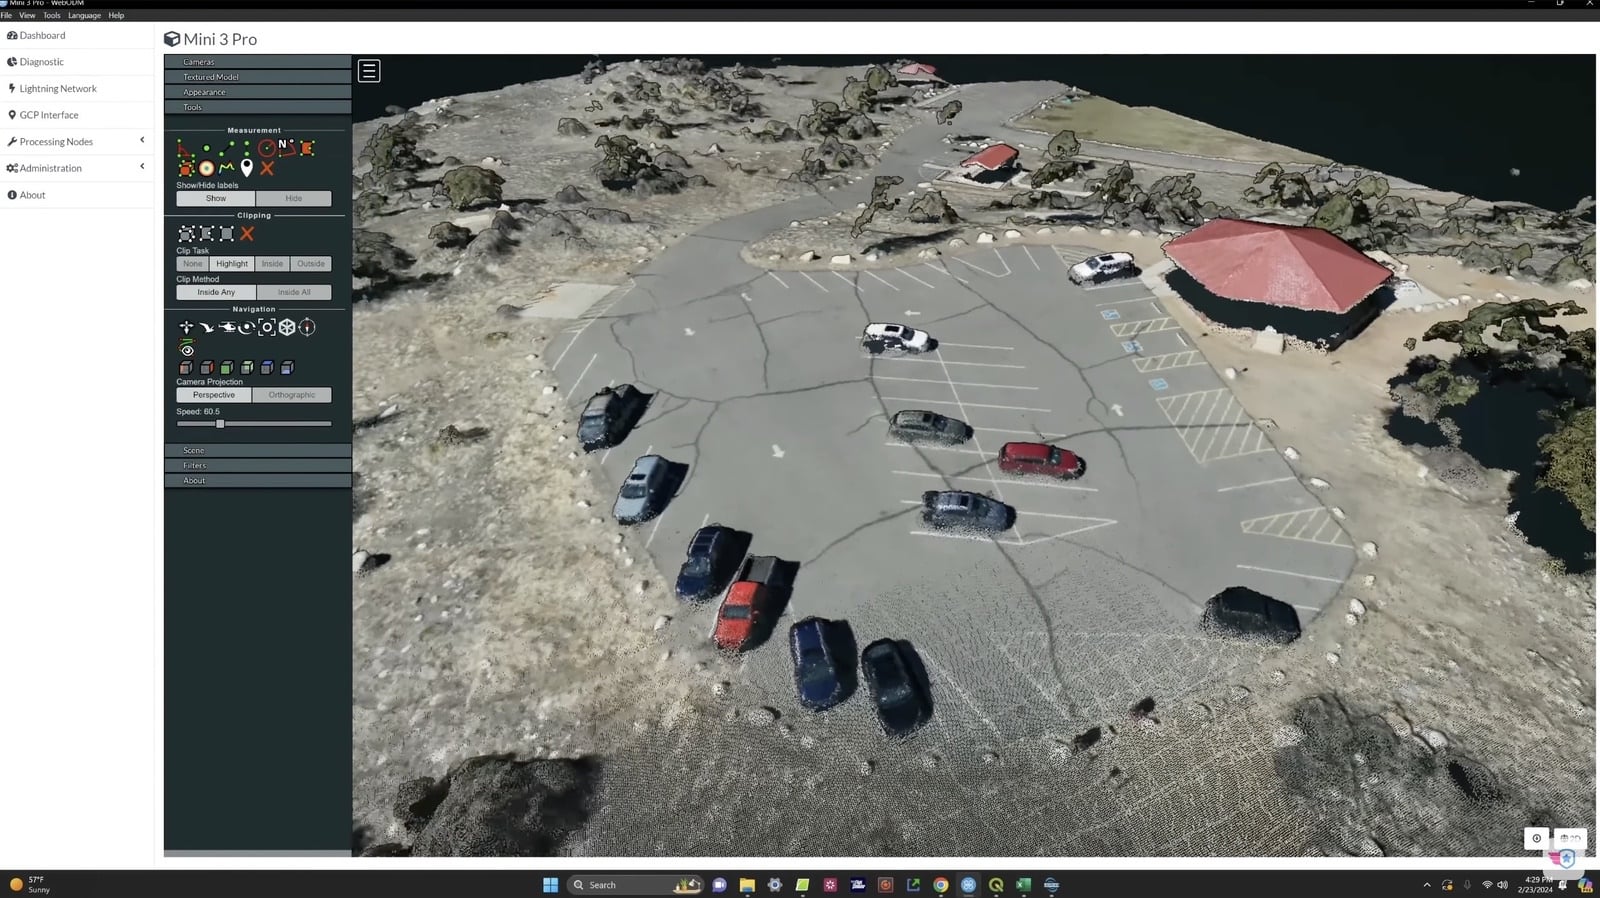
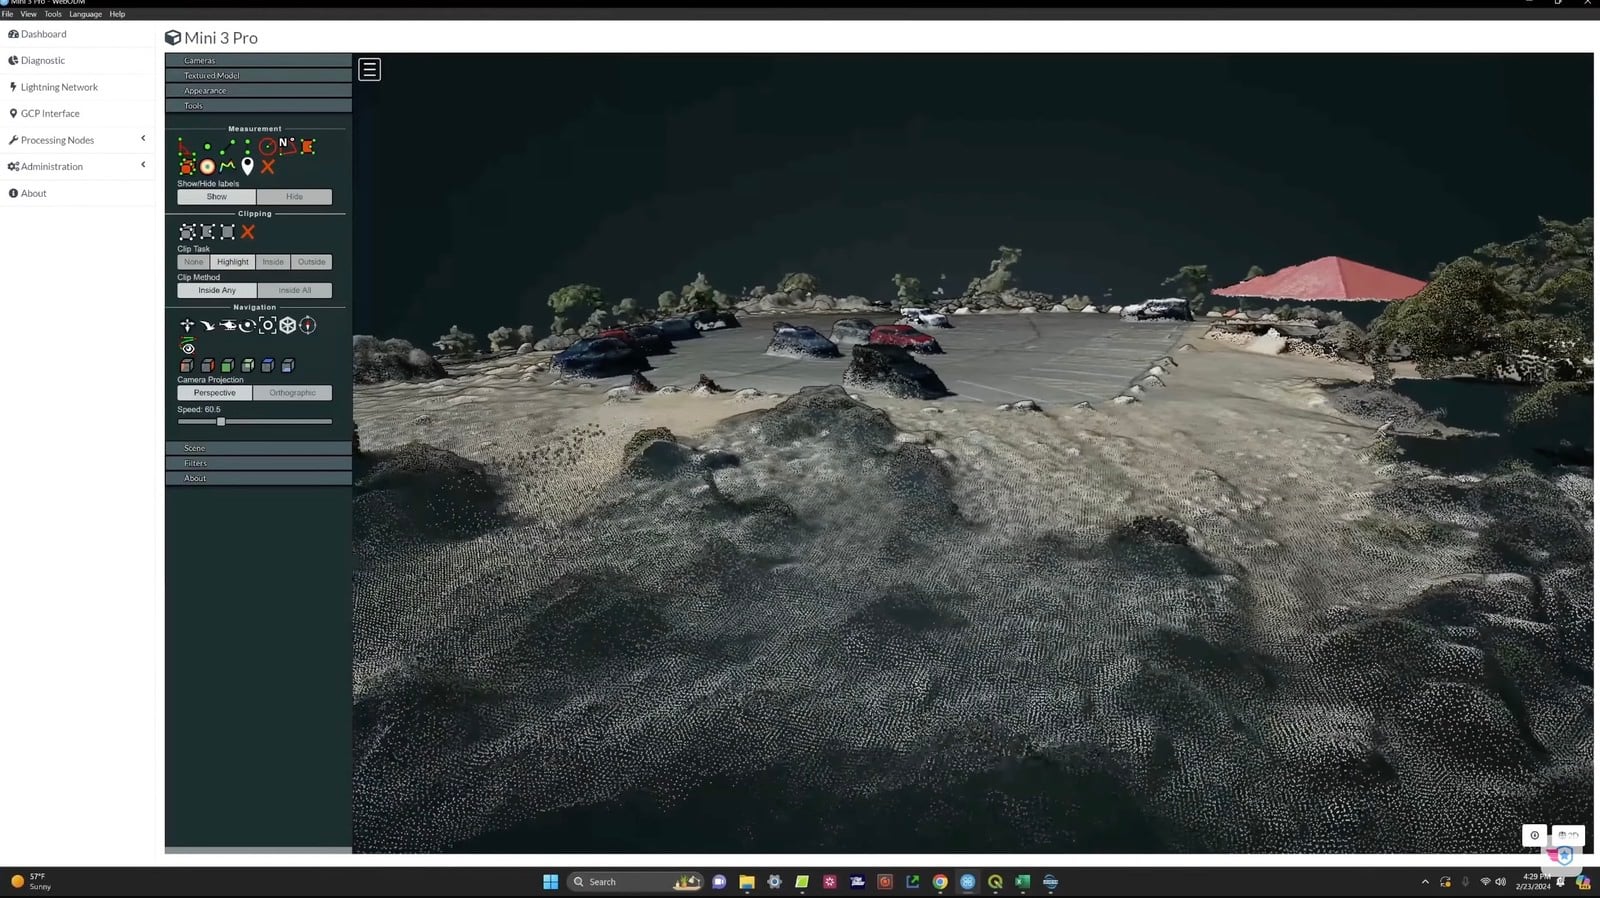
In just 28 minutes, WebODM stitched together the 81 images from the Mini 3 Pro into a stunning high-resolution orthomosaic map. The detail is impressive, allowing you to make out individual parking spaces, trees, rocks and more.
Measurement tools let you calculate area, distance, volume and elevation profiles with just a few clicks. The Mini 3 Pro map even held up well when compared to one made by a much more expensive M300 drone with a P1 camera.
DroneXL’s Take
Jared’s demo proves that you don’t need to spend a fortune to start making professional-grade maps with drones. With some flight planning, an entry-level drone, and free processing software, anyone can create impressive maps for a variety of applications.
As drone technology continues to advance and become more accessible, we can expect to see mapping become an increasingly common use case. Affordable drones like the Mini 3 Pro are lowering the barrier to entry and empowering more people to capture their world in stunning detail from above.


