DJI Osmo Nano: The Ultimate Wearable Camera For FPV Pilots And Daily Content Creators
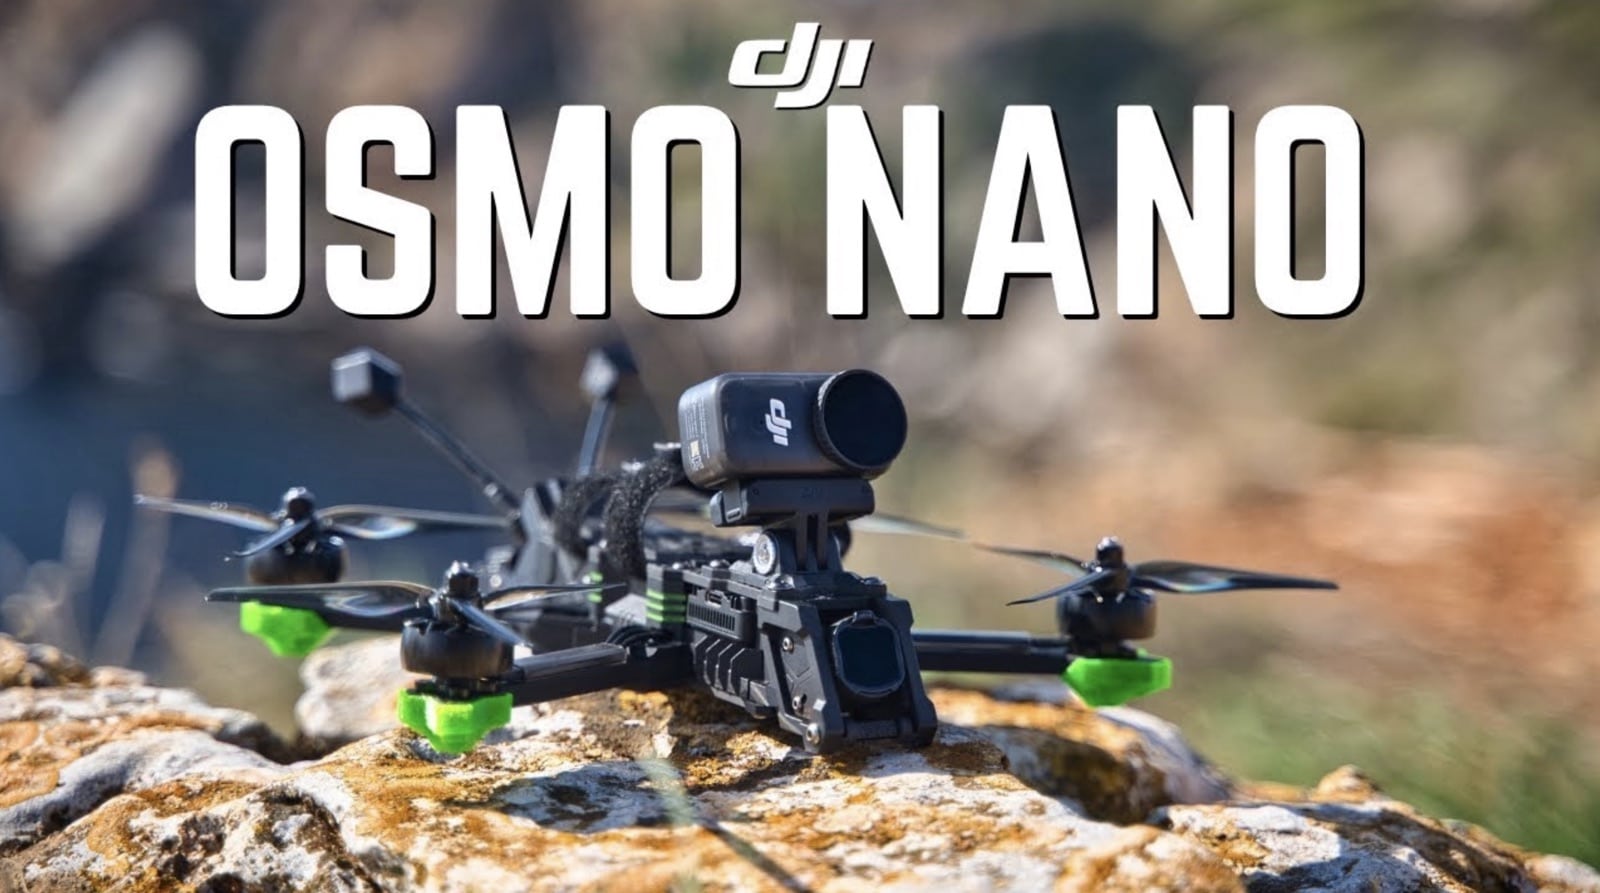
I’m incredibly excited about the DJI Osmo Nano camera, not only as a drone channel to test it on an FPV drone, but also to use it on a daily basis as a wearable camera to capture my life and behind-the-scenes shots when recording videos. In my latest video, I dive deep into everything this compact powerhouse brings to the table.
What Makes The Osmo Nano Special
The camera has two modules that work together seamlessly. The main module is magnetically detachable and holds the camera itself, which is super small and compact. You can attach it to any surface you want thanks to the magnetic mounting system. There’s a removable lens cover on the front, which is quite handy if you want to put ND filters on this camera—a must for capturing cinematic footage.
What I love most is the simplicity. You only have one button to record on the camera module, and that’s it. The other side has a screen with a USB-C port, an SD card slot, and again just one button. “There’s no turn on button, there’s no switch modes button. There is just a record button,” and this makes a huge difference in daily usage when you just want to start and stop recording.
You don’t have to power on the camera. Simply press the record button and it will power on not only the module but also the camera. The same goes for powering it off—just hold the record button and it will turn off the camera and turn on the screen on the second module as well.
Best Mounting Options For POV Footage
This simple design becomes especially important when the camera isn’t in your hands. I wear hats a lot, so I always use a hat mount, but not on top of my head—I use it on the bottom of the brim. I attach the mount to the brim of my hat upside down, positioning the camera very close to my eyes. It doesn’t obstruct my vision, doesn’t interfere with anything, and isn’t heavy.
“In my opinion, this is the best way to attach this camera to get those POV shots,” because anything else just doesn’t have that natural POV look since it’s not exactly angled the same way as your eyes. From this position, you can easily rotate it, push it up or down to mount it properly, and observe everything on the screen.
When you power it on, you can see the screen, tilt it whichever way you want to get the best angle possible, and then start or stop recording from just one button. If you want to remove it, just use the magnetic latches, remove it from your hat, and put it on a chest mount or anywhere else with the magnetic attachments.
How It Compares To Action 5 Pro
The quality is impressive because this is pretty much the Action 5 Pro, but in a drastically smaller form factor. If you remove it from the screen module, the size and weight difference is massive, but they record very identical footage. I’ve been using the Action 5 Pro as my POV camera and behind-the-scenes camera, but now I plan to incorporate the Nano instead because of how small it is.
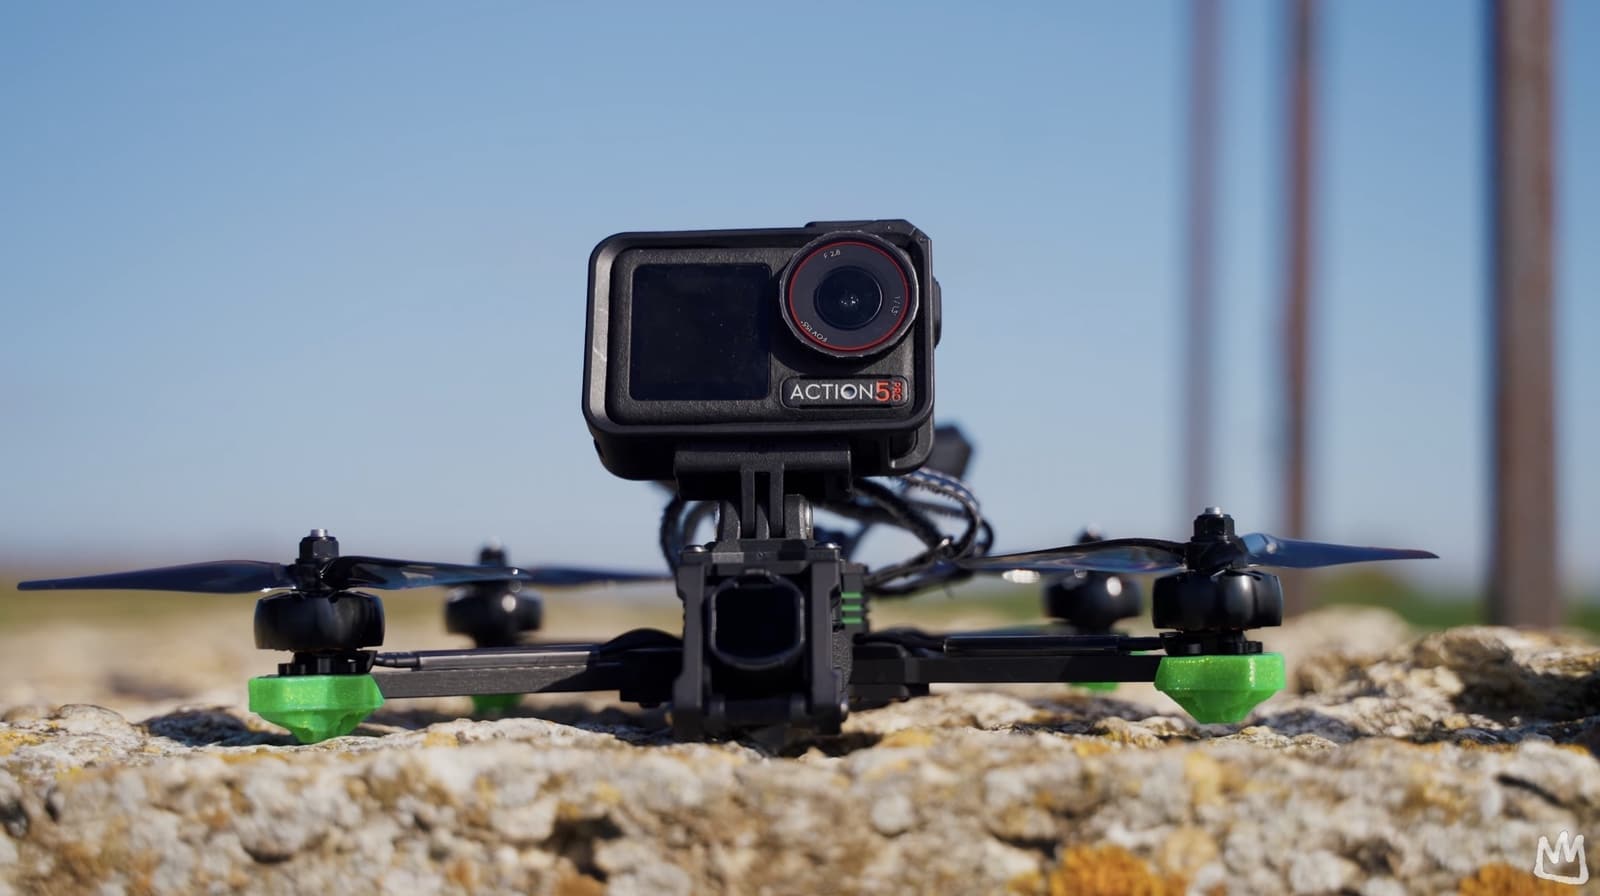
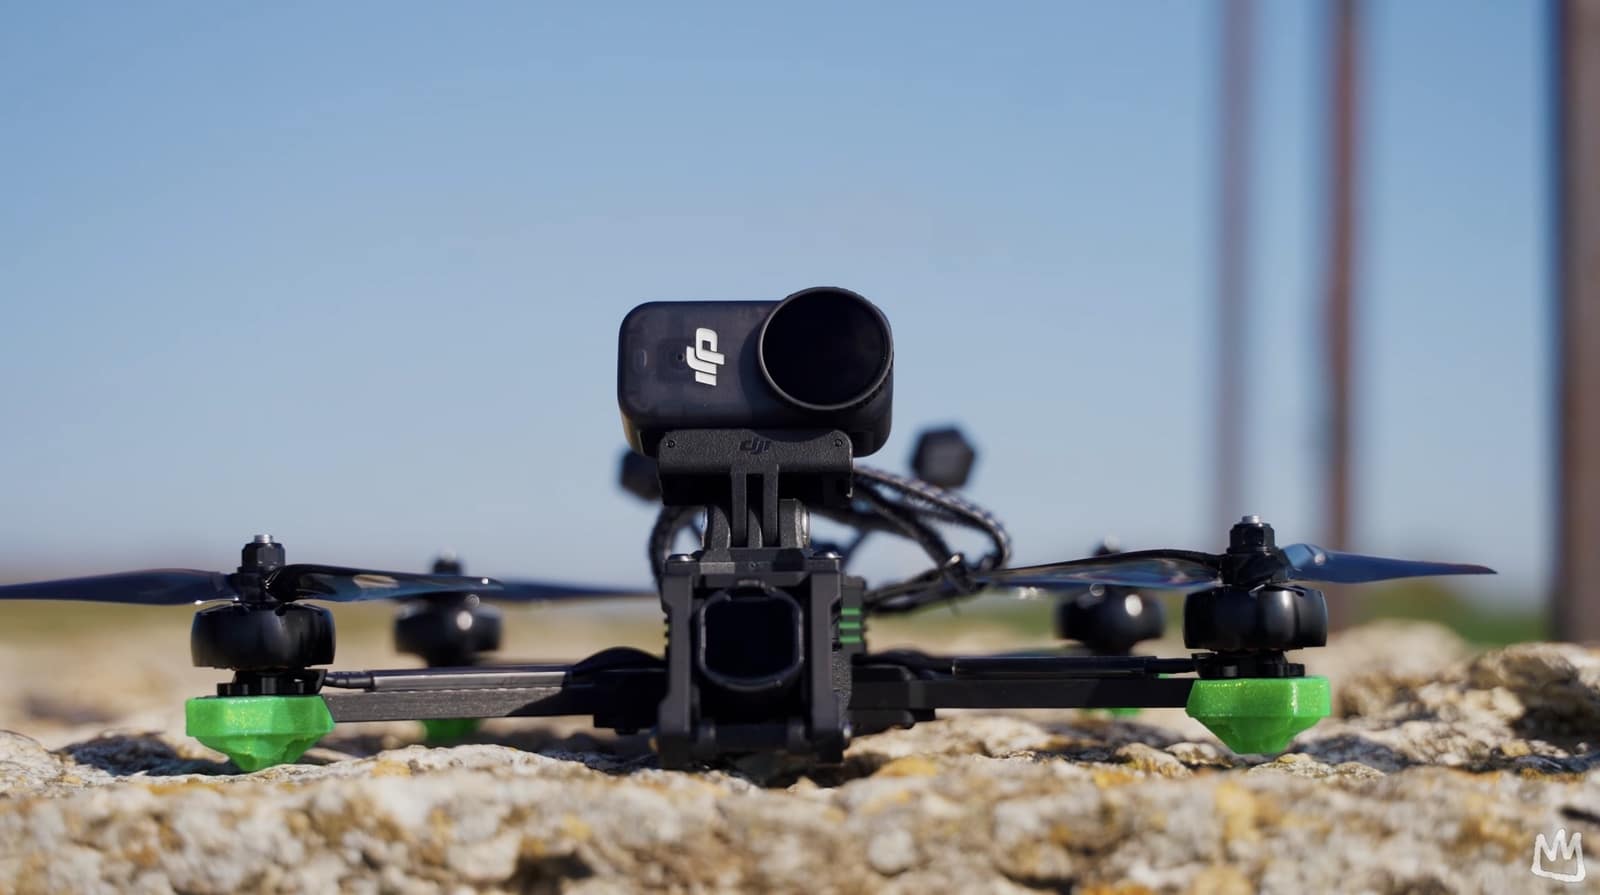
Since the camera is magnetic, it uses the same mounts as before. If you have an FPV drone with a mount on the front for the Action 5 Pro, you can attach your Nano the same way. It’s really easy and convenient to attach and detach this camera to use it to its maximum potential.
Optimal FPV Settings For Maximum Quality
I’m happy to report that it feels exactly the same way as the Action 5 Pro when flying FPV, just in a smaller body. The main thing you need to understand is that with these cameras, you need a specific set of settings to really extract the most out of them.
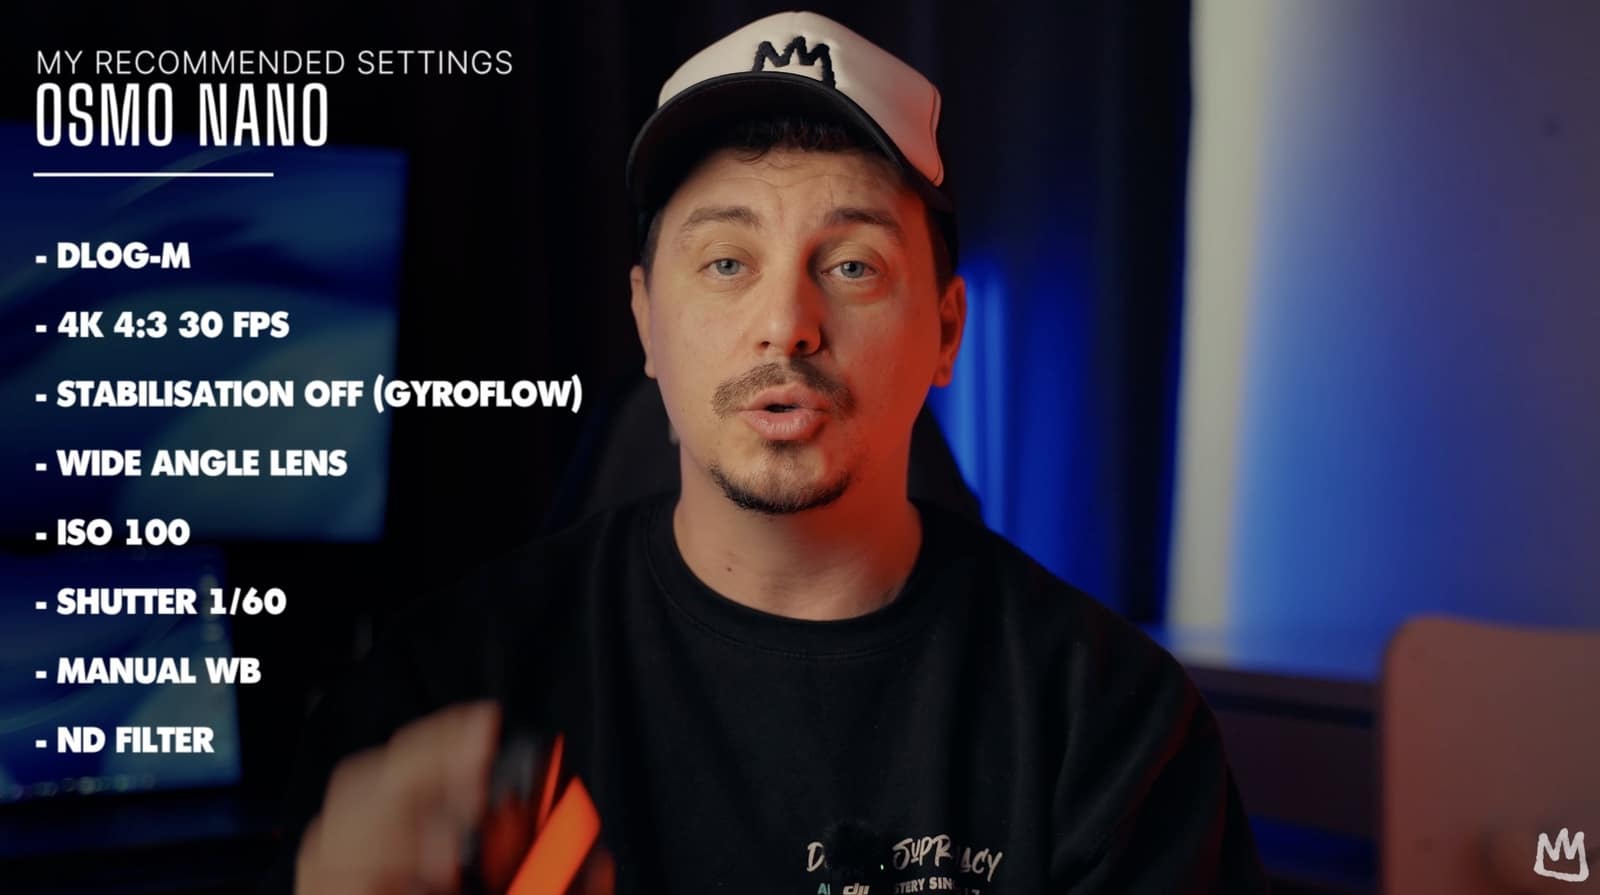
The number one thing you have to do is switch to D-Log M 4K—it’s a must to shoot in 4K. Then decide which frame rate you want. I’ve recently switched to 30 frames per second instead of 24 or 25. Use 4:3 aspect ratio if you want to stabilize your footage later in Gyroflow, which I highly encourage you to do instead of relying on the built-in stabilization. This gives you a whole lot more flexibility to make your footage maybe a little bit smoother, to lock the horizon, or to make it a little bit more dynamic and action-packed by introducing some vibration.
To do that, you need to disable the built-in stabilization, use 4:3 aspect ratio, decide on your frame rate and resolution, and set your lens to wide.
Manual Camera Settings Are Critical
The next thing you need to do is set your camera parameters manually: ISO, shutter speed, white balance, and ND filter. These four things must be configured to extract the most out of this camera.
I always set my ISO to 100, the lowest possible, so I can have zero noise in my footage. Then I set my shutter speed to double my frame rate, which is 1/60th of a second at 30fps. I set white balance to auto initially so the camera can decide what the perfect white balance is, then when I see what it is, I lock it to that manual value.
Finally, you need to select which ND filter you want to use. You have ND8, ND16, and ND32 with this camera from DJI. In my case, I decided on an ND32 because the sun was very strong and bright, and I needed the strongest ND filter available to lock my settings.
After that, it’s just a matter of flying smoothly—or not smoothly, it’s really up to you how you want to fly. It’s easier to stabilize your footage if you’re thinking about that while flying, so you don’t do any sudden movements that aren’t really natural.
Stabilizing Footage With Gyroflow
Let me show you how to stabilize your footage from the Osmo Nano for best results. First, the footage is 4:3 aspect ratio, shot in 30 frames per second with manual settings for white balance and shutter speed. This gives us really nice motion blur next to the ground that looks fast-paced, which we always want.
Drag your footage into Gyroflow. Make sure DJI Osmo Nano is your detected camera. You’ll see all the information about your footage—the duration, frame rate, and the lens profile is correct.
Stabilization is applied automatically, with smoothness set to around 34%. I drop it down to around 20-30% depending on the desired outcome. “We don’t want to have 100% smoothness,” of course. For cruising around rocks in the sea without hard freestyle, I set it to about 30% to have very smooth and great-looking footage.
Next, enable low-pass filter. This stabilizes your footage a little bit better. When you enable it, it crops in slightly, but it’s an insignificant amount. The other options are standard things. I keep audio off because I don’t want the noise of the drone in my footage. Then set the bit rate, resolution, and codec, and you’re ready to hit export.
Color Grading In DaVinci Resolve
Here’s how to color grade the footage to get it extra crispy and good-looking. First, duplicate your initial node a couple of times so you have freedom to play with the nodes.
Since the footage has been shot in D-Log M to retain maximum details and dynamic range, convert it to Rec 709 using a conversion LUT. I have my signature LUT bundle with a D-Log M to Rec 709 conversion LUT, and already things are looking good.
Next, add a look LUT to create a vibe for the footage. In my creative look LUTs folder, I have eight different looks. I personally go for “Green Magic,” which I like for this type of footage. I drop it down to about 0.8 so it doesn’t seem too overpowering.
Then do small corrections to the footage. Start with exposure. In areas with highlights, shadows, and midtones, I drag the shadows up to about 0.02 to see more detail in darker rocks. Increase midtones slightly and drop the highlights. These small corrections make a big difference.
For white balance, I add a tiny bit of blue in the midtones to take away some warmth from the footage. Add a little saturation—about 55—so we have more punch. Then create a small S-curve with three points for a traditional look that creates more contrast.
Duplicate the node to adjust the hue of the orange rocks slightly, and drop the saturation a bit. I also like to select the blue in the sky and drop the luminosity just a tiny bit, and desaturate it slightly.
Finally, add sharpness by going to the blur tab and dropping down to about 0.48. I never go below 0.47 because it becomes too sharp. But we want a little more detail since we have motion blur, and sharpening helps bring back detail when color grading footage.
Battery Life And Final Thoughts
Obviously, since this is a very small camera, you can’t expect super long run time, but the fact that you can easily top up the battery while switching from one location to another is great. I was very pleasantly surprised that it increased the battery from 60% to 100% in like 20 minutes in my car while driving. The module charges quickly, so as soon as you attach your camera, even if it’s not 100% charged, it will start charging and take battery from the Vision Dock module.
Just switch locations and put it on the charger while traveling to the next location and you’ll be good to go. You probably won’t be able to fly and use it for a full day of shooting without downtime, but if you’re shooting here and there and switching locations, you’ll be fine.
After flying with it and using it as a POV and behind-the-scenes camera for the past couple of days, I have to say I’m quite happy with it. “It definitely feels like a smaller version of the Action 5 Pro.” It feels super familiar in terms of settings and different modes. The magnetic attachments are similar to what we’ve used before on action cameras like the Action 5 Pro and Action 4, so it’s nothing new in that regard, but it’s improved.
So far, I haven’t had any negative experiences because it’s still kind of new to me. I still haven’t experienced everything this camera has to offer, but first impressions are really solid and definitely something I can recommend to anyone looking for a small, portable, lightweight camera, not only for FPV but also for traditional behind-the-scenes content and POV wearable content that you can capture with the Osmo Nano.
Let me know what you think about the Osmo Nano in the comments below. If you have any questions, drop them down there and I’ll do my best to answer them.
This article features insights from Mike at Drone Supremacy. Check out his YouTube channel for more FPV tutorials, drone reviews, and cinematic footage.
Last update on 2026-01-28 / Affiliate links / Images from Amazon Product Advertising API
Discover more from DroneXL.co
Subscribe to get the latest posts sent to your email.
Check out our Classic Line of T-Shirts, Polos, Hoodies and more in our new store today!

MAKE YOUR VOICE HEARD
Proposed legislation threatens your ability to use drones for fun, work, and safety. The Drone Advocacy Alliance is fighting to ensure your voice is heard in these critical policy discussions.Join us and tell your elected officials to protect your right to fly.
Get your Part 107 Certificate
Pass the Part 107 test and take to the skies with the Pilot Institute. We have helped thousands of people become airplane and commercial drone pilots. Our courses are designed by industry experts to help you pass FAA tests and achieve your dreams.

Copyright © DroneXL.co 2025. All rights reserved. The content, images, and intellectual property on this website are protected by copyright law. Reproduction or distribution of any material without prior written permission from DroneXL.co is strictly prohibited. For permissions and inquiries, please contact us first. DroneXL.co is a proud partner of the Drone Advocacy Alliance. Be sure to check out DroneXL's sister site, EVXL.co, for all the latest news on electric vehicles.
FTC: DroneXL.co is an Amazon Associate and uses affiliate links that can generate income from qualifying purchases. We do not sell, share, rent out, or spam your email.






All these review/influencers must all be getting paid. The DJI Osmo Nano is an Very expensive tiny toy. It has no lasting power.. it wont even stabilize a casual walk. The distortion edges are always there.. the resulting imagery is not even as good as a Galaxy S7 edge. It’s natural colour profile is over saturated and the whole unit is a complete lack luster bother. I tried it for a week and got so frustrated. Mainly becaus ethe thing cost 3x’s what it should and that’s only because it is a DJI product. Yess it is very wearable but without a lot of colour grading and post fixing… Nah!!! It appears to be DJI’s first kick at the cat here.. a total run-through.. the spaghetti is not fully cooked yet!