
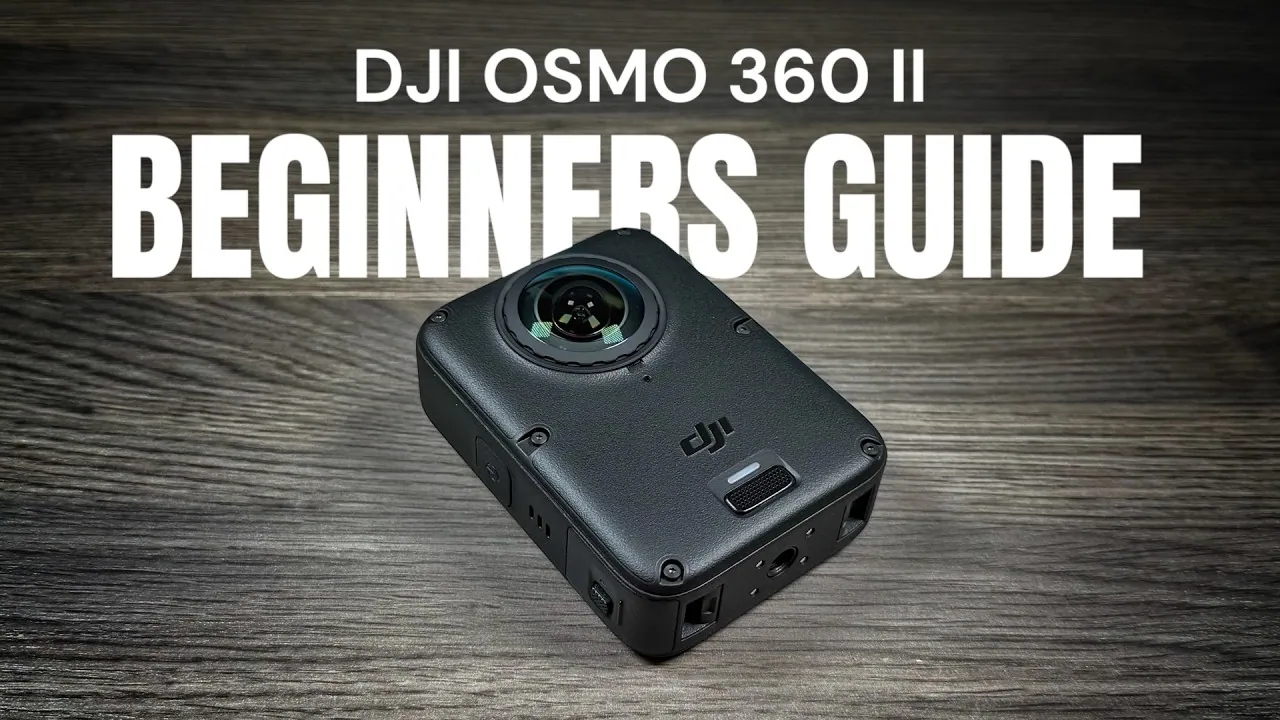
Good day, folks. Shawn here from Air Photography. This is my beginner’s guide for the newly released DJI Osmo 360 II. It’s geared to those who have never used a 360 camera before, to help you get familiar with the hardware and the basic functions.
There are some great upgrades in the Osmo 360 II, including replaceable lenses. The lenses on a 360 camera stick out, so if it falls on concrete or rocks there’s a chance they’ll get scratched or broken. Now you can buy a lens replacement kit and swap them yourself instead of sending the camera to DJI. It’s a very easy process, and all the tools you need come in the kit.
Every Osmo 360 II Bundle Has the Same Camera
Only the accessories change from one bundle to the next.
The Standard Combo gets you the camera, one battery, a charging and data cable, a soft carrying case, a lens cover, a lens cleaning cloth, and an information pack with booklets and stickers.
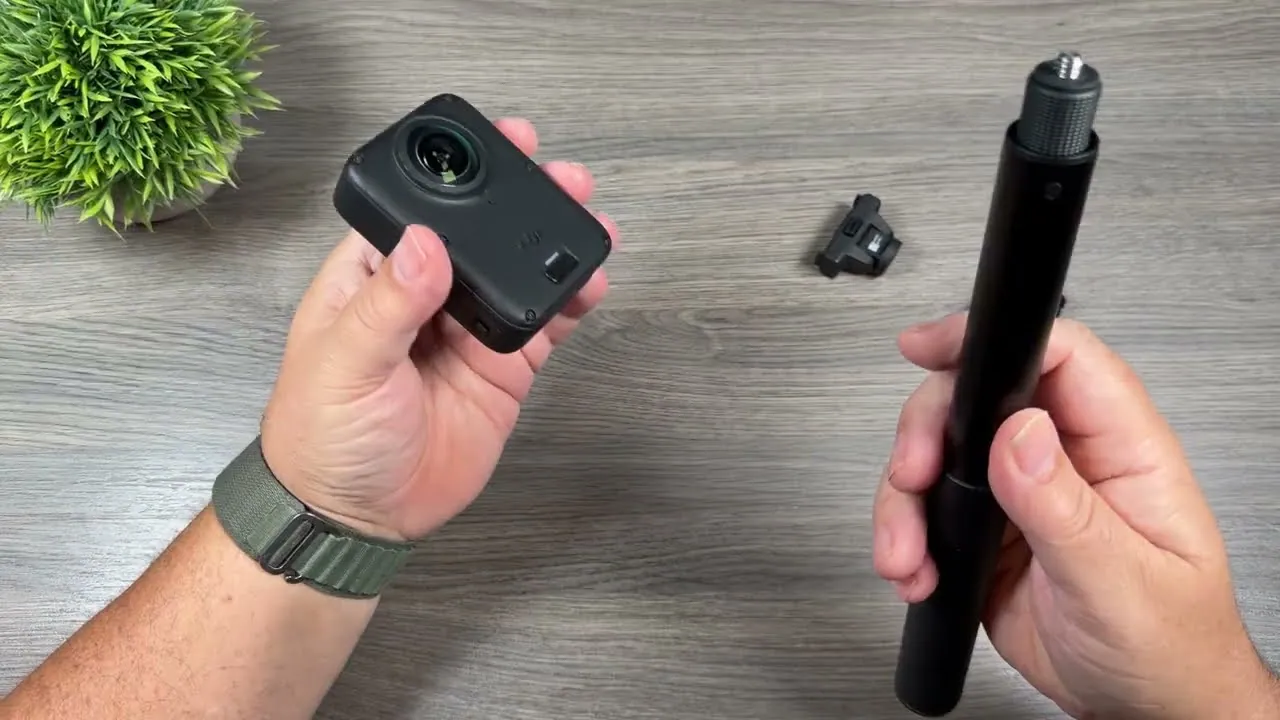
A second bundle adds another battery for two in total, plus an extension stick and a magnetic mount that connects the stick to the camera. The extension stick is probably one of the most common ways you’ll use a 360 camera, so for a lot of people this may be the best bundle.
The Adventure Combo, another very popular one, adds a third battery and a charging hub that holds all three, which makes charging a lot more convenient.
Getting to Know the Buttons, Doors and Mounts
The camera has a very simple button layout. The power button on the side is also the quick switch button for changing modes. Below the screen, the left button is the shutter, and the right one switches between the front and rear camera by default.
One side door covers the USB-C port for charging and data. The other covers the battery and the memory card slot. Press the tab and slide down to open them, and make sure you hear a click when you close them. The camera is waterproof without a housing, but only if those doors are sealed.
On the bottom, you can attach anything with a quarter-inch (1/4-20) thread, or use DJI’s magnetic mounts. For 360 filming, a quarter-inch connection is often the best option because it keeps the stick perfectly in line with the camera, which is what you need for the “invisible selfie stick” effect. The stick has to stay in the stitch line.
The magnetic mount in the box is locked straight for the same reason. If you’re vlogging in single-lens mode and want the lens pointed at you, press its button to tilt it, then press again to straighten it for 360. The standard mounts from DJI’s action cameras fit too.
The pins on the bottom are for DJI’s power handle extension stick. It powers the camera so you can record longer, and its connectors let you control the camera from the handle.
Memory: 105GB Built In, but Get a Card
The camera has 105GB of internal storage. That may be enough for a few small clips during the day, but for most people it won’t be, especially filming 360 video in 8K. It fills up very fast.
I recommend a 256 or 512GB card, and the camera takes up to 1TB. I’m using a 512GB SanDisk Extreme Pro, and I’ve always had good luck with those, but the brand doesn’t matter too much. DJI lists recommended cards on its website. The slot sits right above the battery: insert the card with the printed side facing the battery and push until it clicks.
Charging: Bring Your Own 45W USB-C Charger
Line up the battery contacts and it slides right in. You can charge in the camera, or in the charging hub if your bundle has one.
None of the bundles include a charger head. Most of us already have one for a tablet, phone or laptop, and my MacBook Air charger works perfectly. If you don’t have one, you can buy one from Amazon. DJI sells its own, but most will work. I recommend a USB-C charger of at least 45 watts.
Plug in through the smaller side door and the screen shows the battery percentage with a lightning bolt. Fast charging takes a battery from empty to about 80% in roughly 20 minutes. The last 20% takes a bit longer.
The hub can also be bought separately. Open the lid or press the front button and the lights show each battery’s state: yellow needs charging, green is full. It charges one, two or three batteries, and with batteries inside it doubles as a power bank for any USB-C device, like a phone running low.
Activating and Updating the Firmware With DJI Mimo
Before you use the camera, activate it and update the firmware with the DJI Mimo app. Mimo also lets you preview, transfer and edit your footage, and use your phone as a live-view remote. It’s on the Apple App Store. On Android, I believe you download it from DJI’s website, but I’m not 100% sure, so just Google it. Create a DJI account and sign in.
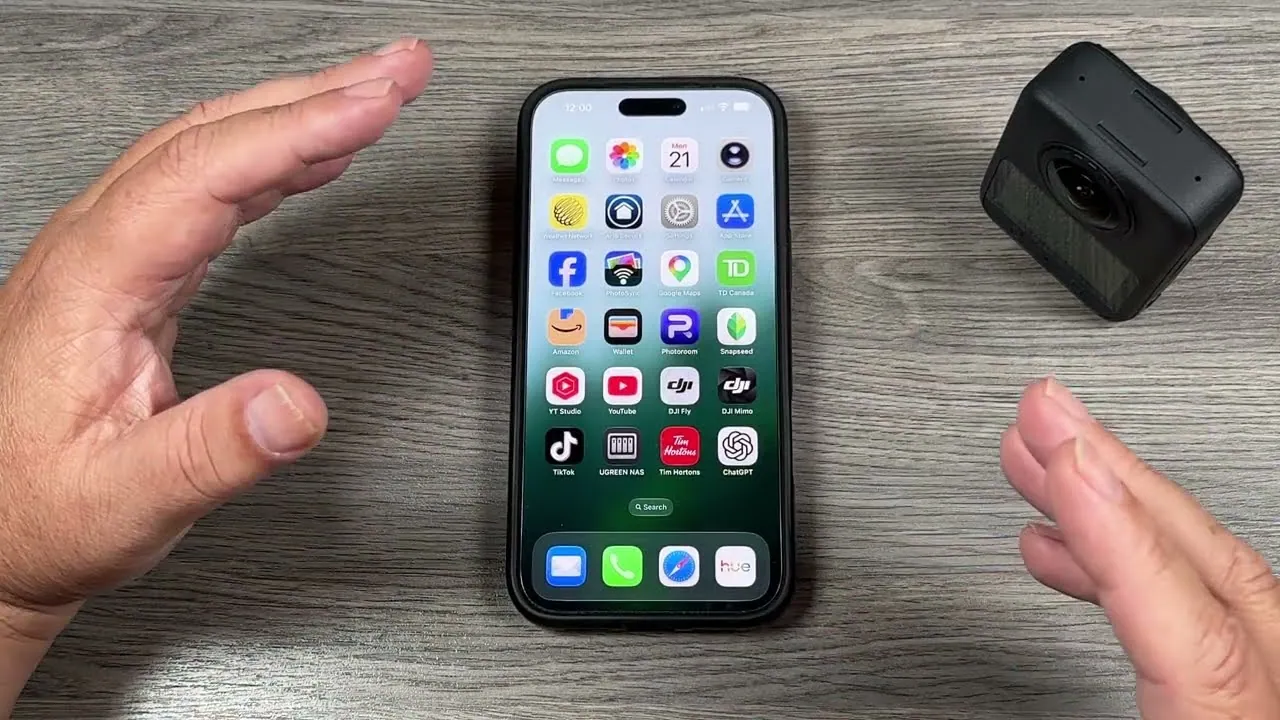
Turn the camera on with a quick press of the power button and pick your language. You can skip activation and use the camera up to five times, but I highly recommend updating first so you get all the features.
Open Mimo and it may find the camera on its own. If not, tap the button at the bottom right to search. Tap connect, then confirm on the camera. That one-time step stops random people from connecting to your camera. Agree to the activation terms and the camera is activated. Mimo then offers DJI Care Refresh as a one- or two-year plan. I skipped it.
A firmware update starts downloading right away, so do this with an internet connection. The percentage covers download and install, so at 50% the download is usually done. Tap install, connect to the camera’s Wi-Fi, and let it run. It takes anywhere from a few minutes to 5 or 10, depending on your connection and how busy DJI’s servers are, and the camera may restart. When it’s done, both the app and the camera confirm the update, and the camera gives you a quick on-screen tour.
Reading the Screen and Finding the Menus
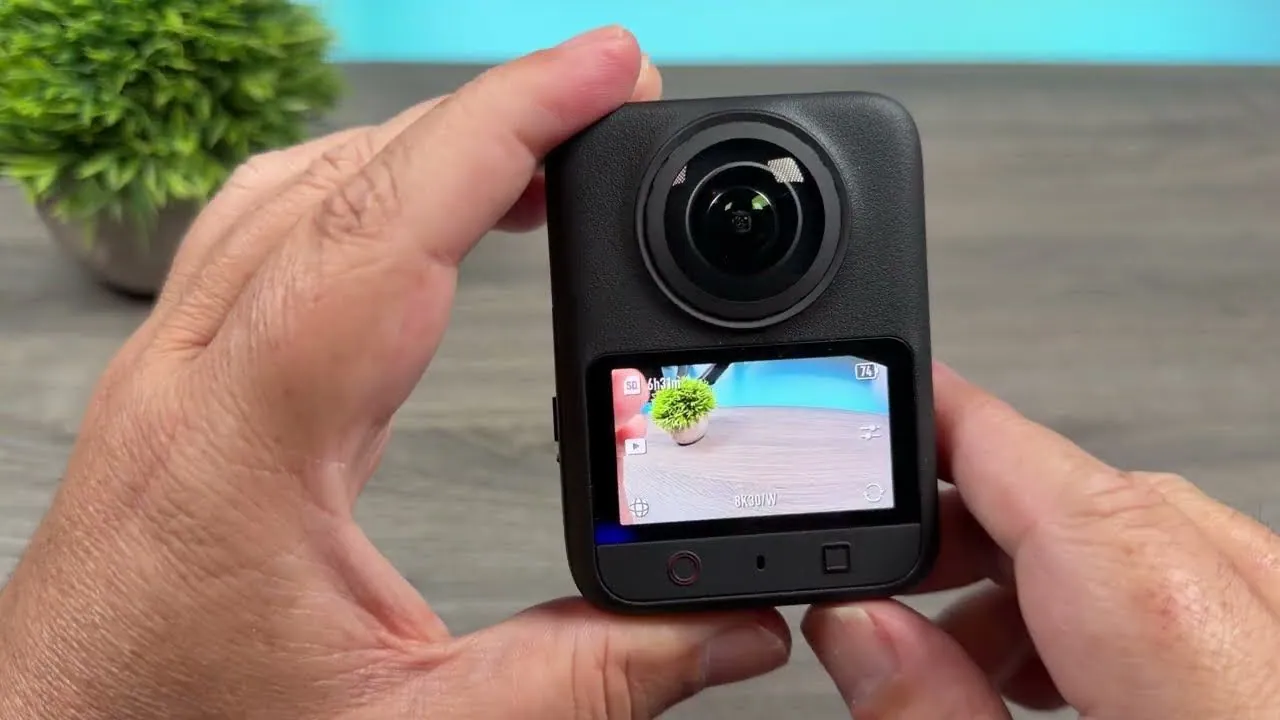
Press and hold the power button to turn the camera off. Around the edge of the screen:
- Top right: battery level.
- Top left: where you’re recording and how much time is left. A camera icon means internal storage, a memory card icon means the SD card. My settings left 1 hour and 55 minutes of video.
- Middle left: the play button for your media.
- Bottom left: the current mode. A globe means spherical video.
- Bottom center: resolution, frame rate and field of view, like 8K 30W.
- Bottom right: front and rear camera switch.
- Middle right: the side menu.
Swipe down from the top for the main settings, which run across two pages, and tap the gear icon for more. The side menu holds image and audio settings: filters, Endurance Mode to stretch your battery when you’re running low, and Pro Mode for manual white balance, ISO and shutter speed.
To change where you record, swipe down, swipe sideways and tap the memory card icon. It shows free space on internal storage and on the card. Tap the one you want, confirm, and the top-left icon changes to SD. To wipe a card, go to Storage and choose to format internal storage or the memory card. Transfer everything you want to keep first, because it erases everything.
360 Mode vs Single-Lens Mode
This camera works two ways. As a spherical camera, it uses both lenses to capture everything around you, and later you export a spherical video or reframe it into a flat one with the perspective you choose. In single-lens mode, it works like a traditional action camera with just the front or rear lens.
Tap the mode button and pick “360” or “Single Lens” at the top. Do it right away, because that screen disappears fast. 360 mode has night shots, Spotlight Follow, Vortex, time lapse and slow motion along with photo and video. Single-lens mode has fewer options.
With the camera on, the power button cycles through modes too. Mine only shows photo, Boost Video and video, because you can choose which modes appear for both 360 and single lens. The same customization menu turns off the voice prompts that announce each mode.
Single-lens video is ready to share, edit and transfer the moment you stop recording. Spherical video has to go through the app to become a flat or spherical video before you upload it. Some people worry that’s difficult and time-consuming. It can take a little time, but it’s actually very easy.
The front/rear button matters most in single lens. In 360 mode you’re recording every direction, so it only helps framing. In single lens, what you see is what you get, so flip it to face you for vlogging or selfies.
Resolution, Field of View and Stabilization
The default in 360 video is 8K at 30 frames per second with a wide field of view, the highest quality. Swipe up from the bottom to change it: 6K or 8K, and 60 frames per second if you want to slow footage down by half. I always leave it at 8K. If your computer or phone is older, a lower resolution can help it handle the footage, but most devices from the last few years are more than capable of spherical 8K.
Field of view comes in Ultra Wide, Wide and Standard Dewarp. In 360 mode it mostly doesn’t matter, because you can adjust it later. In single-lens mode, what you set is what gets recorded. Ultra Wide captures the most but distorts, which you can see at the back of my desk. Wide is a good middle ground. Standard Dewarp is a tight shot with no distortion at all. Distortion usually isn’t noticeable unless you’re very close to your subject.
For stabilization, I leave it on RockSteady most of the time. It keeps things smooth with nice natural movement, and that movement adds energy, especially in action footage. HorizonSteady keeps the horizon perfectly level even as I rotate the camera, but it crops in very tight, so it isn’t for every situation.
Boost Video and Vertical Video
In single-lens video, tap the shooting modes and you’ll find Boost Video, with an extremely wide field of view. Chest-mounted or on a bike, this is the mode for very immersive action footage.
Single lens is also where you set your aspect ratio, before you record. In 360 mode you choose that later when you export. Swipe up and tap the 16:9 setting to see the options. 9:16 shoots vertical for social media. 1:1 shoots square, so you film once and crop to vertical or horizontal later in DJI Mimo, which is handy if you post to several platforms. If you only need one format, shoot in that one.
Four More Ways to Start Recording
The shutter button starts and stops recording. There are four other ways, and each has to be turned on first.
- Twist to Shoot: turn it on from the swipe-down menu, then twist the camera twice quickly to start, and twice again to stop. That’s very useful when it’s out on an extension stick and you can’t reach the buttons.
- Voice control: pick your language, then say “start recording” or “stop recording.” You don’t have to be in the right mode. In spherical video mode, “take a photo” switched the camera to photo mode and took a picture.
- Gesture control: show the camera an open palm to start and stop capture.
- Snapshot: turn it on under the gear icon. With the camera off, press record and it powers up and starts recording right away, which matters when something is happening in front of you. When you stop, it counts down and turns off, unless you tap the screen to keep it on.
Reviewing Your Footage on the Camera
Tap the play icon to see your last video. You can rotate around 360 clips, with limited zoom, scrub with the slider, and adjust or mute the sound. The three dots let you delete a clip, favorite it, or see its file information. The icon at the top left opens a grid of everything on the current storage, labeled by format, and tapping the top lets you switch between the SD card and internal storage. Swipe in from the right to exit.
Pairing a DJI Mic 3 or Mic Mini 2
For vlogging or really good audio, you can buy the Mic 3 or Mic Mini 2 transmitters on their own at a reasonable price, without the full kit. They pair directly with the camera, two at a time.
Turn on the mic and its light blinks. On the camera, swipe down and tap “Mic,” then pick the first transmitter. Press and hold the link button on the mic until it flashes blue and green, and a second later you get a green checkmark. Repeat with the second transmitter for another mic. A green audio meter then appears at the top, and the mic setting and the Pro Mode side menu hold audio settings like level, noise reduction and tone.
Using DJI Mimo to Control, Trim and Transfer
Open Mimo, connect and join the camera’s Wi-Fi, and it goes straight to the gallery. It shows both the memory card and internal storage, with every file labeled as video, Boost, spherical or photo.
The icon at the bottom right opens a live view with full control of the camera. You can start and stop recording, take photos, start a time lapse, change modes and settings, and switch between single lens and 360.
You don’t have to transfer a clip to edit it. You can work right off the memory card. One of my videos ran 2 minutes and 36 seconds, but storage on phones is sometimes very limited, and maybe you only want a short clip for social media. Tap trim, then the scissors, select a section, and export. My 13-second clip saved straight to my phone’s photo gallery. For a lot of people, that’s the best way to work.
You can also batch transfer everything with the select button at the top and the download button at the bottom. Remember that spherical content stays inside the app until you export it as a regular video, while single-lens footage goes straight to your gallery. I’ll cover editing and managing 360 content in another video, hopefully in a few weeks, so if you’re new to 360, stay tuned.
That’s my basic beginner’s guide for the Osmo 360 II. I’ll have more tutorials in the coming weeks and months. Thanks so much for watching, and we’ll see you in the next one.
This article is based on a video from our YouTube partner Shawn. Watch the full video on the Air Photography YouTube channel, and find more of Shawn’s work on his DroneXL author page.


